Ladies, if you were ever intimidated by the Chanel counter in your favourite mall, don’t be. When BeautySA was invited to be treated to a ‘Chanel winter look’ we practically jumped with glee, and then the first thing I worried about was, ‘What do I wear?’ Luckily this wasn’t front row at their Paris Fashion Week Fall/Winter show, so when Zoe and I walked into the Chanel space in the V&A Waterfront’s Edgars we were quickly made very comfortable.

Step 1: Cleanse and tone
Christine used Chanel’s Lait Comfort to cleanse Zoe’s skin to remove any trace of make-up and the UCL Repair solution on her eyes. After determining Zoe’s skin type, she used the Hydra Beauty serum and gel moisturiser on her dry skin.
Step 2: Create a base
The water-based Vitalumere Aqua foundation was applied with a foundation brush and then the LeBlanc base.
TIP: ‘If you apply your foundation too lightly and you don’t blend it well, you can actually see it sitting on the pores,’ says Christine. Chanel’s Vita Lumier matte powder was then applied to prevent the make-up from sliding off your face (under harsh conditions) and to keep to looking fresh (until prime conditions). The primer is perfect for special all-day occasions like weddings or photo shoots. Next Christine used the Eclat Stomp concealer to erase all dark traces of the late nights at beauty launches under her eyes. She recommends that you use concealer very minimally and only on affected areas.
Step 3: Get cheeky
Next, and rather unexpectedly, Christine blotted Chanel’s Sunkissed bronzing powder blush on Zoe’s cheeks. Note we say blot and not rub as you don’t want to smudge your foundation.

Step 4: Blend the windows to your soul
With her ring finger, Christine applied the sparkly Mirifique Illusion d’Ombre eye shadow in dark brown directly on the lash line and in the crease near the outer edge of Zoe’s eye. You can begin blending and working the dark shade upwards towards the outer corner of the eye. Then begin blending a lighter colour to the inner corner of your eye. Christine mixed the black and brown shadows for a more smoky look, blending the two colours into the crease of the eye lid and a little higher near the brow bone. Finally, Christine added a light dusting of a light brown shade in the inner corner of Zoe’s eyes.
‘You’ve got to blend and mix and blend and play with the colours to find the look you prefer. You’ve got to keep practising,’ Christine recommends. ‘If you find you’ve gone too dark, instead of washing it all off and starting from the beginning, soften the smoky eye with a lighter eye shadow closer to your skin tone or use your foundation.’
If you don’t want to use an eyeliner, apply a little of the dark eye shadow to your bottom lid with a soft brush. But only use the shadow on the first, outer third of your eye lid and not the full bottom lid. Also, avoid the water line.
Step 5: Give a little lip
Because you’ve got a smoky eye, there’s no need for a heavy lip. Simply apply a lip balm that has no pigment, or use a neutral lip liner (Chanel Natural) and blend it across the entire lip. Alternatively a light lip colour like Chanel’s Style Rouge Coco Shine and Blizzard lip gloss will add extra shine.
Step 6: The final drag
Do not use the same amount of mascara on both your top and bottom lashes. You can go a little heavy on top, but drag the brush lightly across the bottom lashes. Brown mascara is great to use during the day because it softens and enhances your eyes, as a black mascara can be quite intense. Then finish the look with a touch of blusher in Rose Ecrin.


25 Responses
I appreciate the step-by-step tips. It’s very helpful and I tried it on my skin – it feels so velvety on my skin!
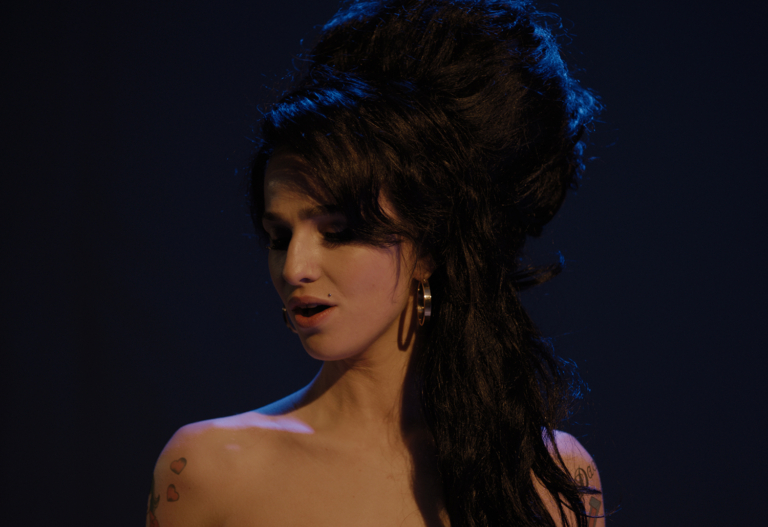
Wow, Zoe’s eyes look stunning!
Stunning!
great article and its easy to do as well
Love Chanel!